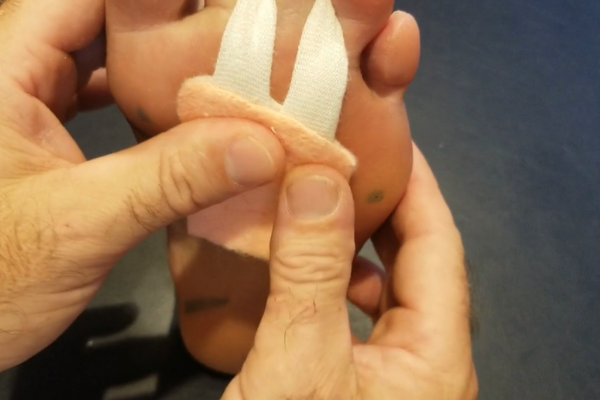
Replaceable PMP Pad
When should it be used?
If your patient has previously had a PMP pad placed on the foot with which they’ve got on well, you can make this last a longer by making the pad replaceable.
1 First Steps
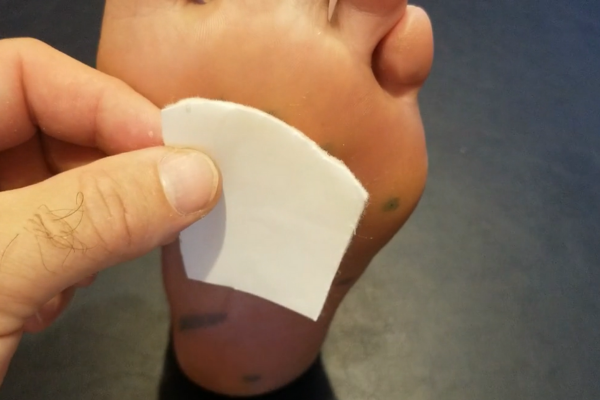
Take a piece of semi-compressed felt and cut a pad to the shape of the middle 3 metatarsals.
The paper backing needs to be facing away from the foot to make it replaceable.
2 Making a toe loop
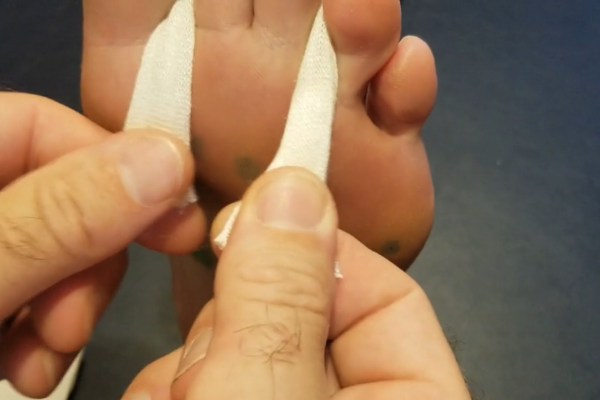
Next, create a toe loop and place it around one to three of the middle toes, depending on where you want the pad to be positioned.
There’s a video of how to do this on the podkit homepage
3 Attaching the pad
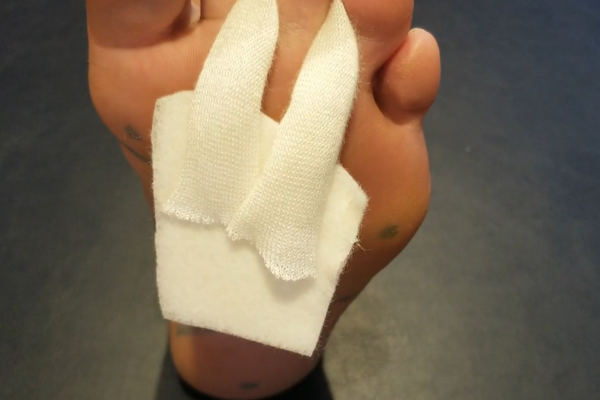
Once you have positioned the pad, peel off the paper backing and attach the pad to the toe loop.
4 Covering the pad
You can then cover the sticky side of the pad with tape, a fleecy web or even another layer of felt if the pad needs to be particularly thick.
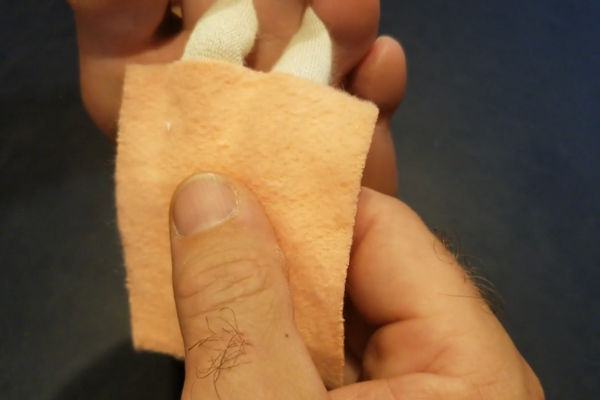
5 Trimming the pad
Once this is done, cut off any excess material so that the cover is the same size as the pad.
- Be careful not to nip the toe loop as you do this, so hold it down when you’re trimming the edge.
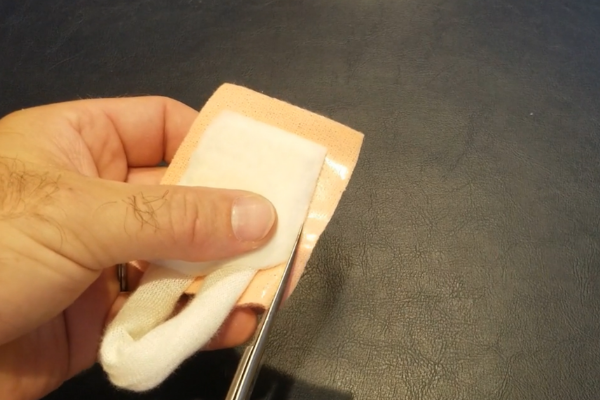
6 Secure it
To secure the pad so that it does not move, consider placing an elastic net loop around the foot to fix it in place.
The pad should locate itself fairly securely inside shoes without the use of an elastic strap.
