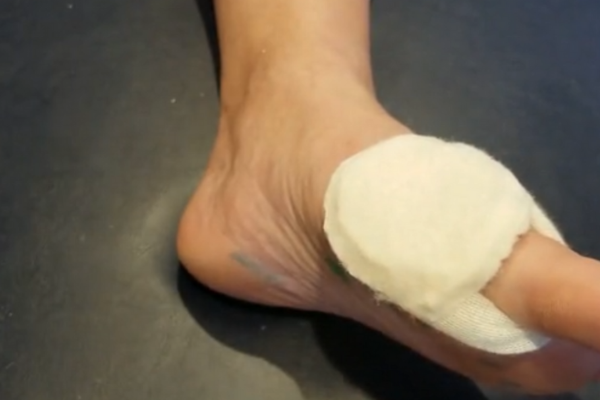
Replaceable Bunion Cover
When should it be used?
If you have a patient with a bunion pad, that you want to make removable, then the following steps provide a guide on how to do this.
1 Starting Steps
Using the same shaped pad as you would for a non removable bunion cover, flip the pad over so that the sticky side is no longer attached to the foot.
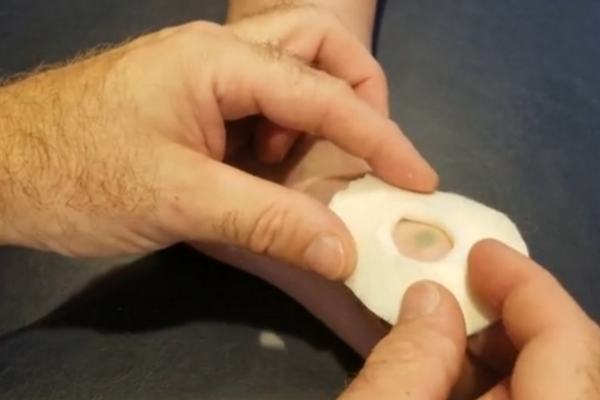
2 Create a Toe Loop
After this place a toe loop (you can find a video on how to make this on the home page) around the big toe (and the big toe joint) and attach the two ends to the pad.
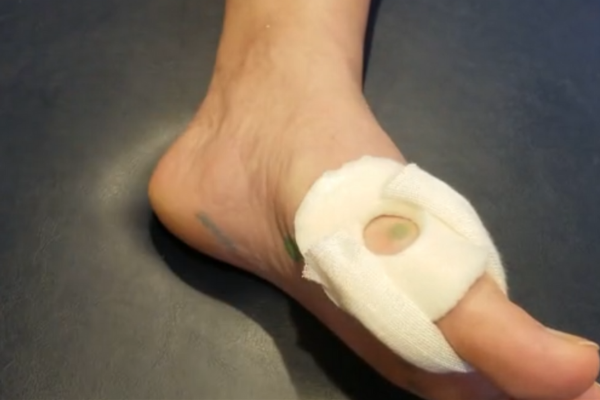
3 Securing the Pad
If you need to secure the pad in place then consider using an elastic net band around the foot.
You can also use a longer toe loop instead of an elastic net.
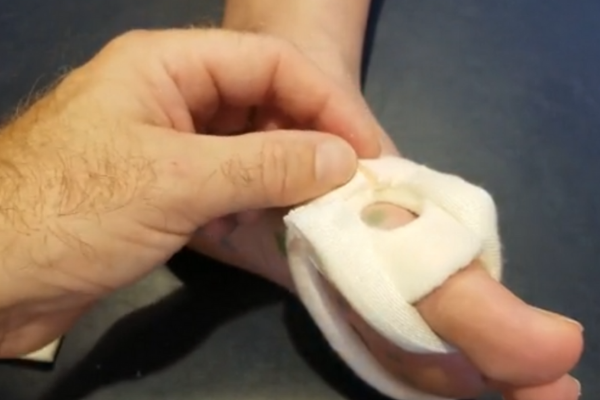
4 Final Steps
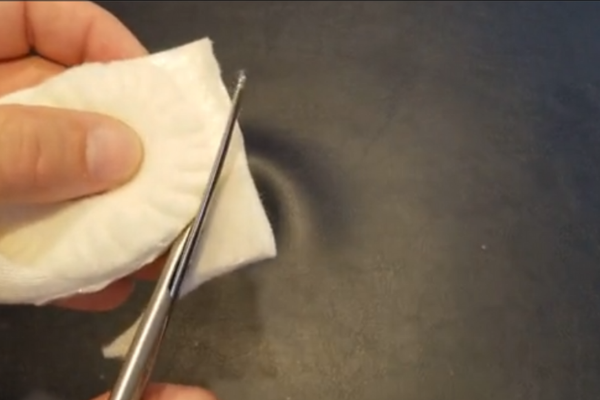
To finish off the pad, take a piece of felt, some fleecy web or some strapping and attach it to the bunion cover. You can then cut around the covering so that its shape matches the pad beneath.
Take care not to cut through any loops attached to the pad.
If needed you can bevel the pad.
5 Placing the Pad
Lastly, attach the pad to the foot, with the loop going around the big toe.
Make sure that the hole in the pad lines up over the bunion.
