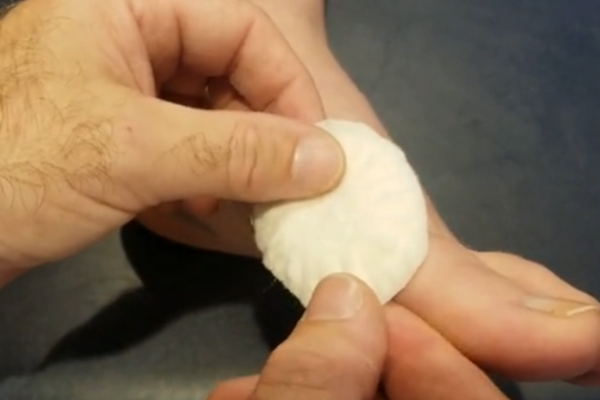
Bunion Aperture Pad
When should it be used?
If you have a patient that requires a bunion offloading to prevent rubbing in footwear then consider using a bunion aperture pad.
1 First Steps
Start by taking a piece of semi-compressed felt and round off all of the corners.
- Note the pad should end up oval shaped once you’ve done this
- It can also be tapered at one end making it more egg shaped
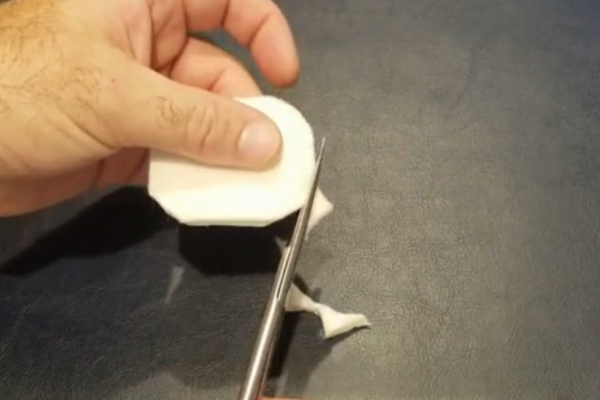
2 Bevelling the Pad
Create a top bevel around the edge of the pad.
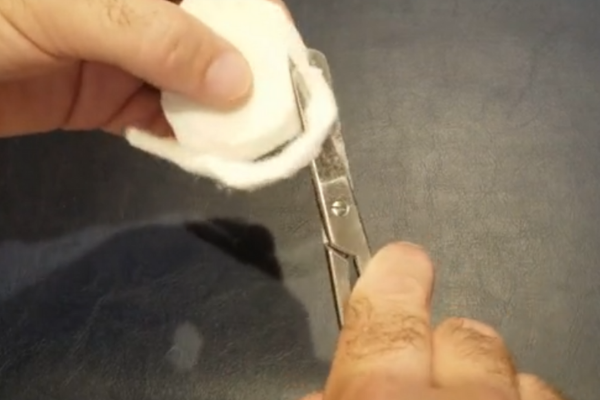
3 Pie Crust Bevelling
After you’ve completed the previous step, proceed to add a pie crust bevel around the edge of the pad.
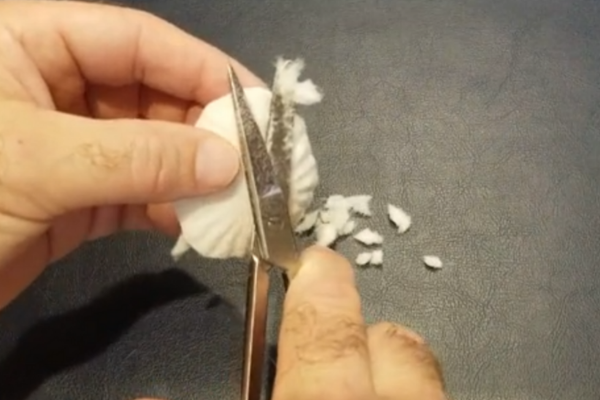
4 Creating a Cavity
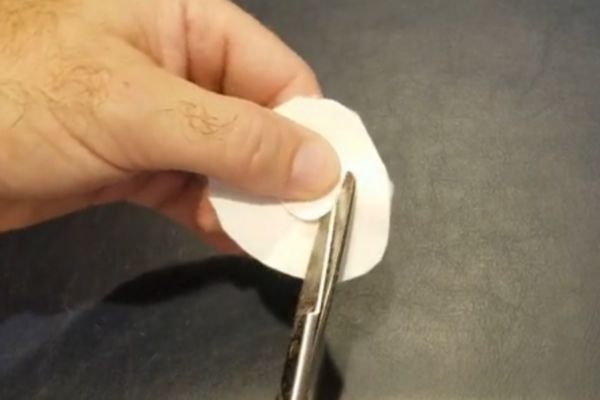
In the centre of the cover, create a cavity using small snipping motions, remaining careful not to poke your scissors through the pad completely.
- If you wish to make an aperture, then this can be done by cutting a hole into the centre of the pad, rather than just a cavity.
5 Final Steps
Peel off the paper backing and attach the pad so that the cavity or aperture fits over the bunion.
