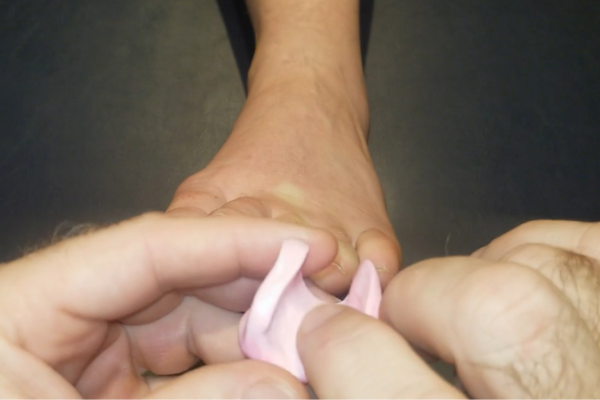
Silicone Corrective Toe Splint
When should it be used?
If you have a patient whose toes need to be straightened, or fixed into a better position, then consider using silicone to create a corrective toe splint.
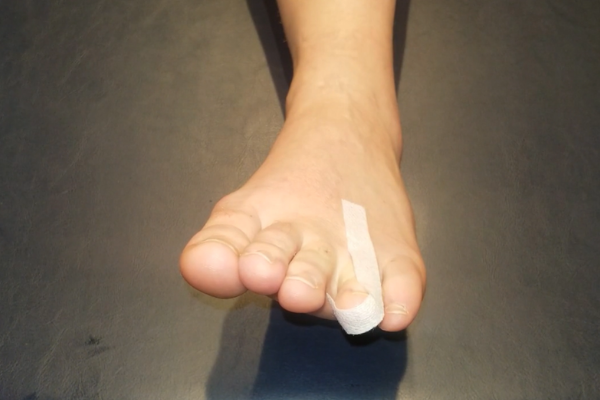
1 Correcting the Toe
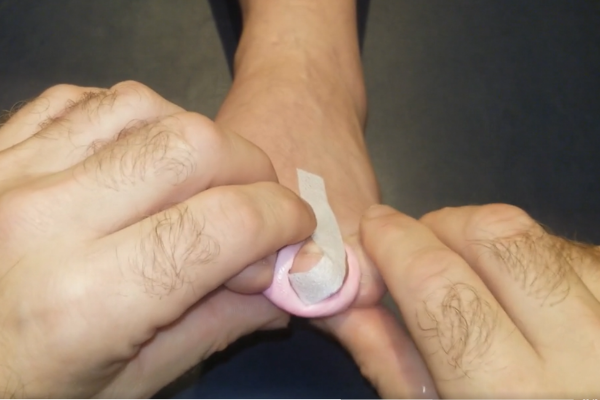
Straighten the toe by using some tape to fix it into position.
2 Mixing the Silicone
Next, take the silicone and mix in your catalyst by rubbing it into a ball between your hands.
You’ll know its ready when the colour is evenly distributed throughout.
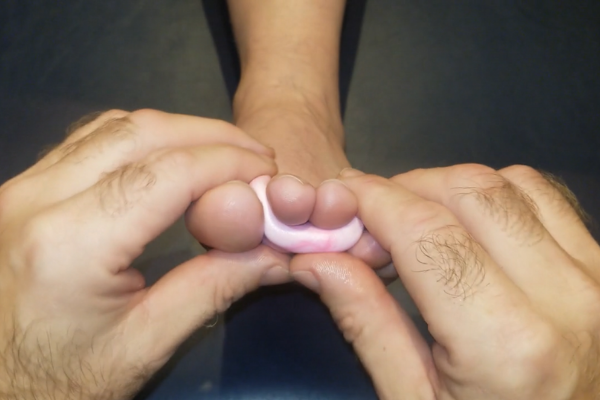
3 Fitting the Splint
Mould the silicone around the bottom of the toe, so that it stays in the corrected position.
- Make sure the silicone fits the interdigital spaces by squeezing the top and bottom of the device.
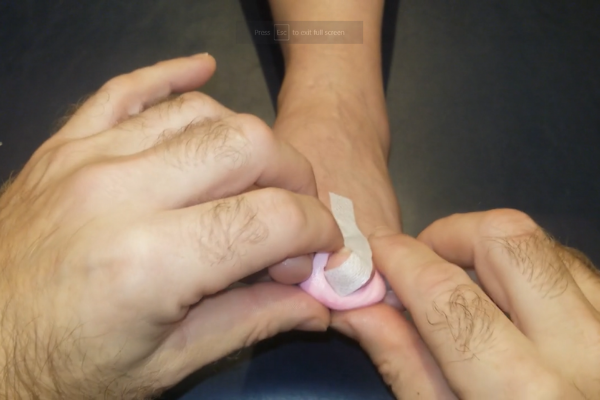
4 Leave to set
Leave the device to set between the toes.
- You can continue to mould the silicone until it becomes firm.
5 Remove the Device
Once the silicone has set, remove both the device and tape from the toe. This will leave you with a removable toe splint.
- Remove the tape from the device.
